
Layered Chocolate Torte
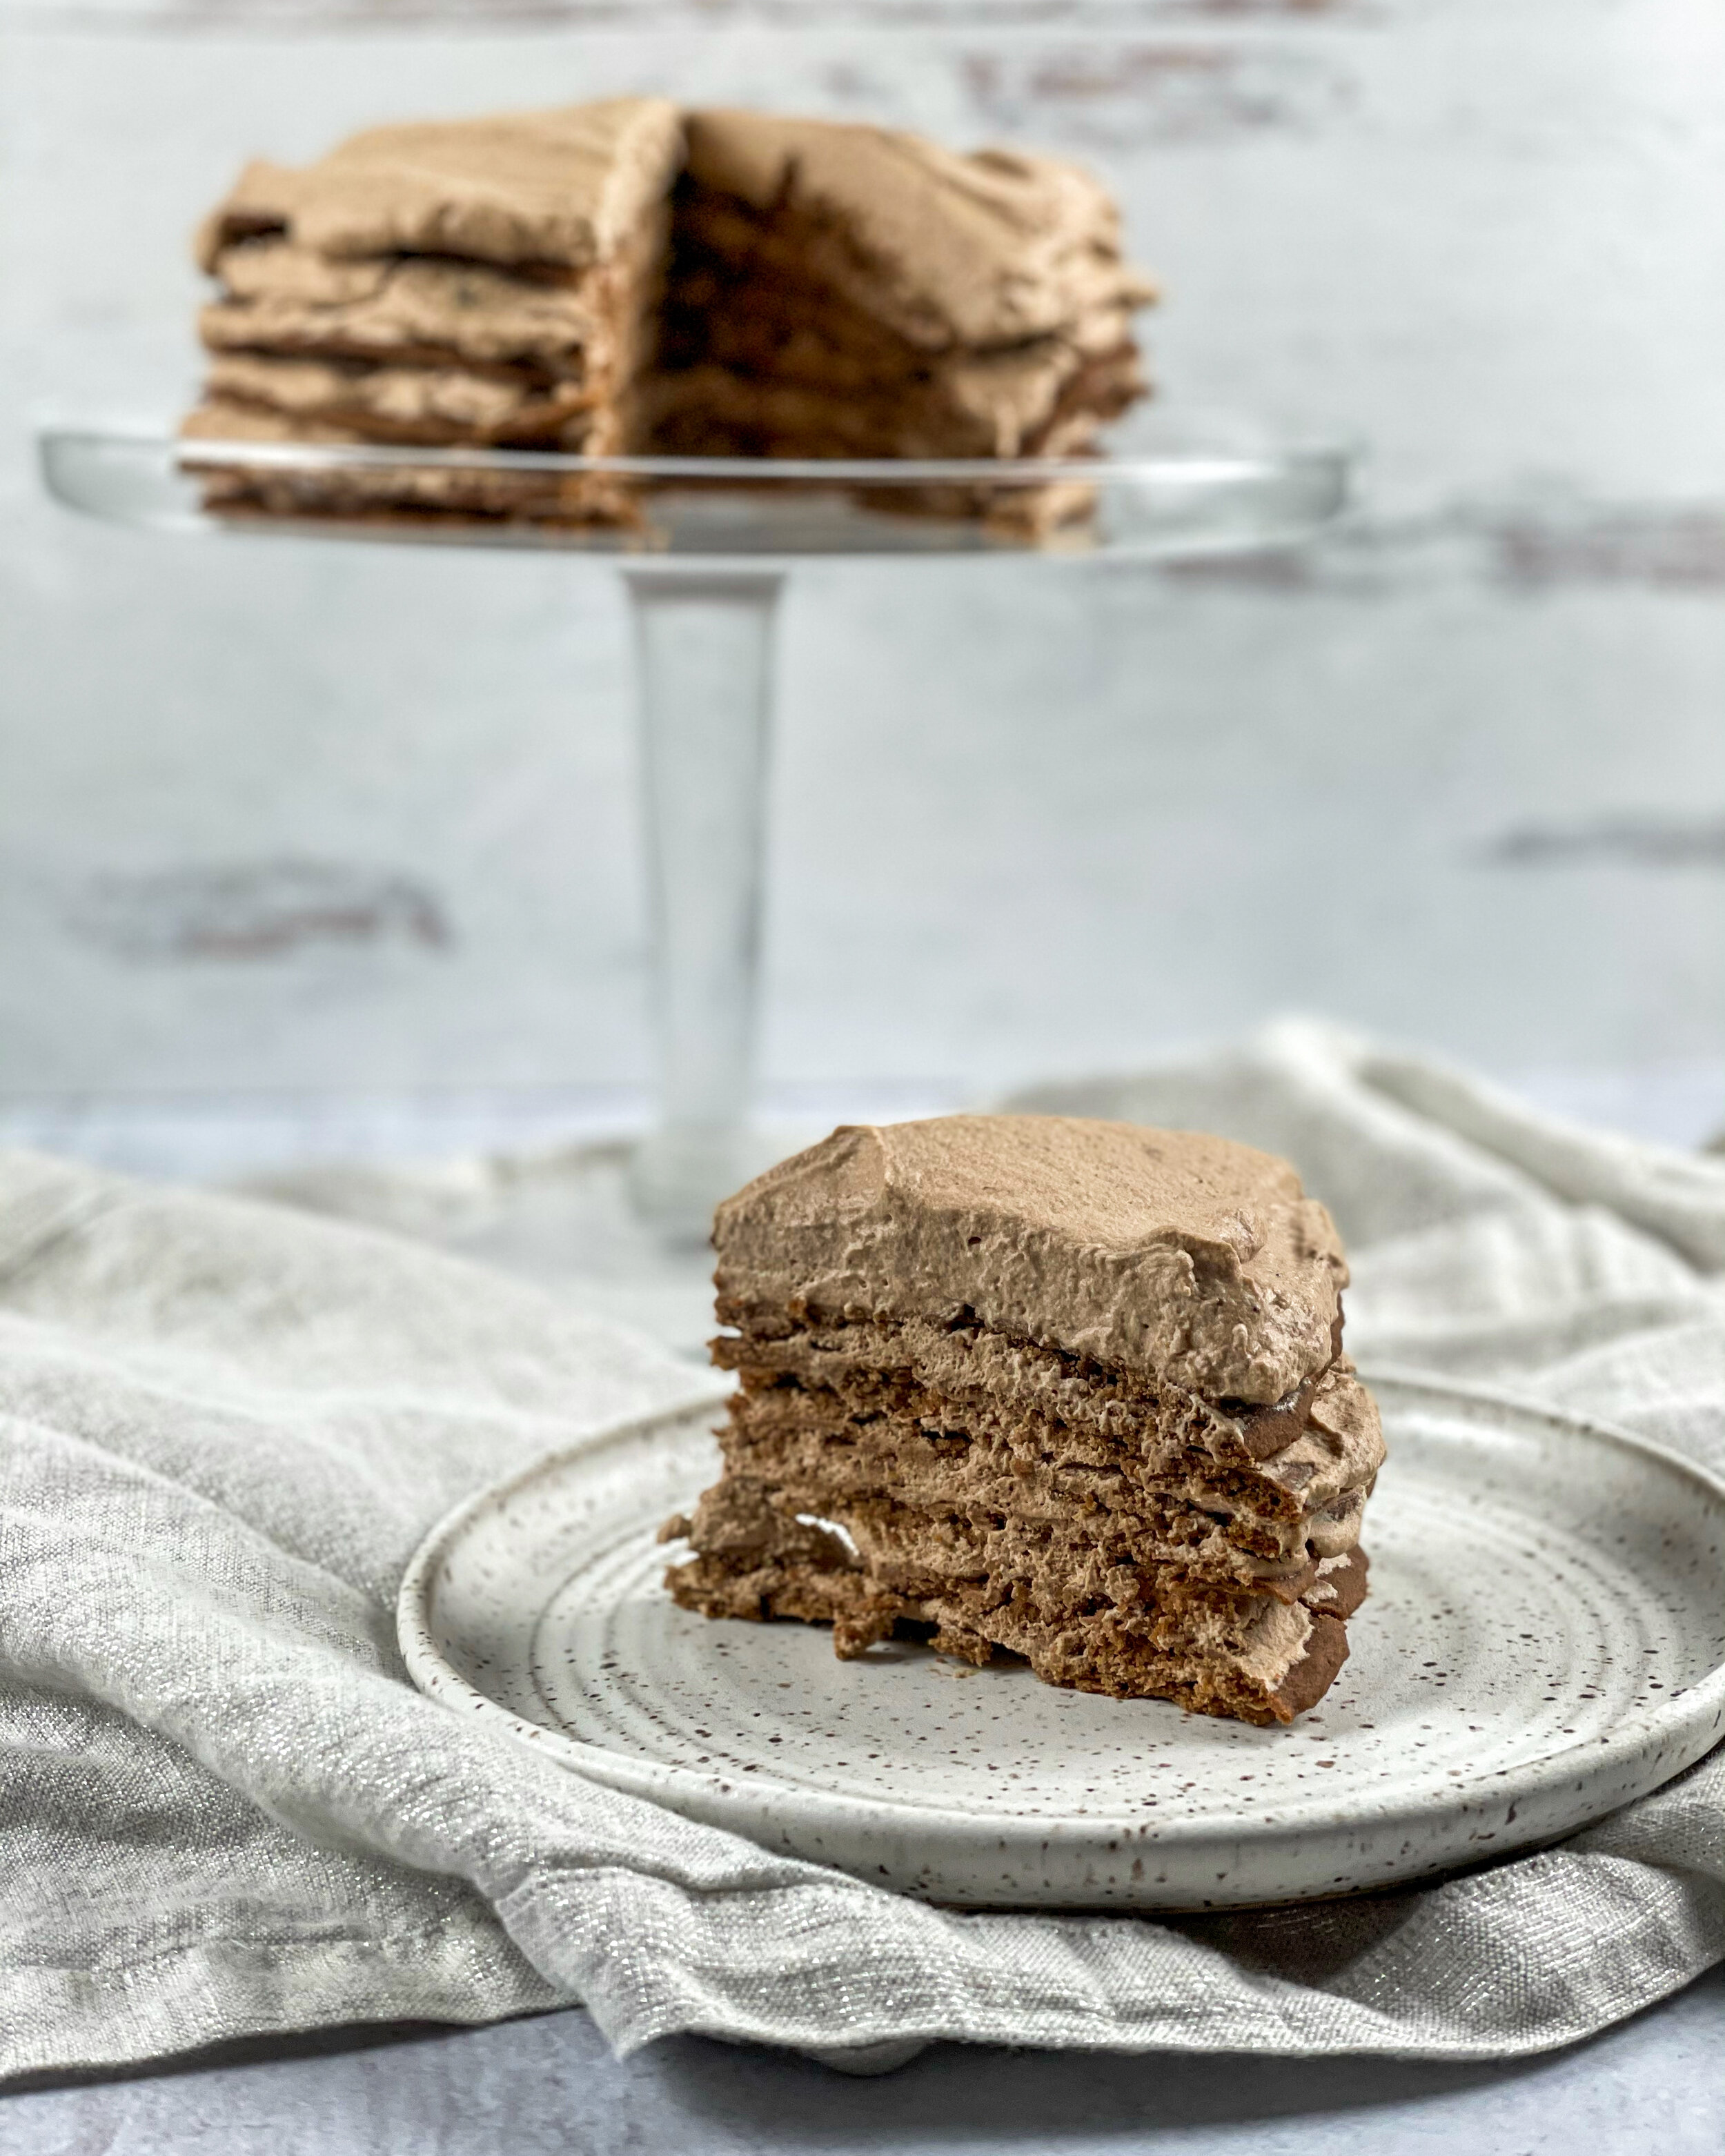
This is another recipe inspired by my grandma Era. Her chocolate torte was saved for very special occasions growing up. The cream soaks into the layers overnight making it the most light and airy chocolate cake you will ever have. I cannot make it exactly the same as her because she writes her recipes just vague enough so you can’t recreate it exactly the same, but this is pretty dang close!
A couple notes before starting. This recipes uses dry pie mix. I had no idea this was a thing and didn’t find it until my third torte (face palm). You can find it in the dry baking section of the grocery store. I found it at Walmart but I am sure other stores carry it as well. I used the Jiffy brand. You will need at least 1 9-inch round cake pan. In an ideal world you would have 2 so you can be working on more than 1 layer at a time, but not necessary. You will be using this pan inverted, so using the bottom of the pan. Another thing that you might need is a double boiler to melt the chocolate. You can also make one using a metal bowl that fits into any pot you have. This is an important step because you will get a different product if you try melting the chocolate mixture in the microwave or on the stove directly.
Ingredients:
8 oz. German Sweet Baking chocolate
1/2 cup sugar
1/2 cup water
1 1/2 tsp instant coffee
2 tsp vanilla extract
9 oz. box of dry pie crust mix
1 pint heavy cream
Instructions:
Melt chocolate, sugar, water and instant coffee in a double boiler over simmering water. Stir occasionally.
Once melted, remove from heat and stir in vanilla.
Let cool to room temperature.
Preheat oven to 425 degrees F.
Once the chocolate mixture is cooled, add 3/4 cup to the dry pie mix in a bowl. Combine until smooth using a stand or hand mixer. Divide into roughly 6 equal parts.
Take the first part of the dough and press onto an inverted cake pan. It should be very thin. Leave about 1/2 inch from the edge.
Cook for 5 minutes. Watch carefully so the edges do not burn. They should be the texture of a really crispy thin cookie. You may end up taking out around 4:30, if the edges start too look overdone.
Let cool for a couple minutes while preparing the next dough.
To remove the cooked dough, run a tip of a knife under the cake gently to separate. Let it continue to cool on parchment paper.
Continue for all 6 sections of the dough.
Once dough is all cooked and cooled (It is important that the dough is no longer hot or else it will melt the cream) beat the heavy cream.
Add the remaining chocolate mixture to the cream.
Layer cake starting with dough. Spread 1/6 cream mixture on top of the dough. Continue layering with dough then more cream etc ending with cream.
Refrigerate for at least 8 hours, ideally 24 hours before eating.
Serve directly from the fridge.
Tools I love and recommend for this recipe (Affiliate links):
I am so excited for you to try it! If you post a picture, please tag me, @RachelMasterKitchen and hashtag #Rachel.Master.Kitchen on instagram!